
Build a DIY XOGO Player with Raspberry Pi
Raspberry Pi is a small, single-board computer that was developed in the UK. The first model came to market in 2012 and exploded in popularity due to its low cost and modular, open design. Over time the platform has continuously been developed and improved, to the point that RPi3 and RPi4 computers are now capable of running digital signage applications on a 24/7 basis.
We believe strongly in the future of the Raspberry Pi platform and have made significant investments to develop and optimize our XOGO Player digital signage app for RPi computers. The following instructions are intended for those that would like to purchase their own RPi3 or RPi4 computer and turn it into a DIY digital signage player.
Step 1: Purchase your Raspberry Pi hardware
RPi3 and RPi4 computers are available worldwide, from various online sources including Amazon and PiShop. We recommend selecting an RPi4 computer with 4GB of RAM and a 32GB micro SD card.* Don’t forget to buy a power cord, HDMI cable and a case of your choosing. You won’t need a mouse or keyboard because your RPi can be controlled by the XOGO Manager app.
*To keep things simple we highly recommend using this SanDisk Ultra 32GB micro SD card. It has a class 10 speed rating for fast reading/writing of data, and its 32GB storage capacity means that you won’t need to do any special formatting in order for it to work in your RPi3 or RPi4 computer.
Build your own RPi computer or purchase a XOGO Mini 2 from our online store.
Step 2: Download our free XOGO Player app
Click the appropriate link below to download (and then unzip) XOGO Player for your Raspberry Pi computer. Please note that there are different versions for RPi3 versus RPi4.
Step 3: Image your micro SD card
First download Balena Etcher. It’s a free software program for Windows, Mac and Linux that allows you to image micro SD cards. Install the program on your own computer and insert a micro SD card into your computer’s card reader.*
Open Balena Etcher and click Select Image. Choose the XOGO Player image that you downloaded in step #2. Click Select Drive and select the microSD card that you inserted into your computer’s card reader. Then click Flash! and XOGO Player will be imaged to your microSD so it can be used in your RPi computer.
*Your computer needs to have an SD card reader for this step. MicroSD cards -including the SanDisk Ultra 32GB card that we recommend- typically come with an adapter that allows you to slide the microSD card into a standard SD card reader.

Use Balena Etcher to image your memory card with XOGO Player for RPi3 or RPi4.
Step 4: Set up your RPi computer
Carefully insert your imaged microSD card into your RPi computer (the label faces outward toward you). Snap the board into the case until it clicks, then connect the power supply. Connect the RPi to your TV via the HDMI cord. Your RPi will boot up automatically. Assuming that your TV is set to the correct input, you’ll see a screen similar to the one below. (Initial boot may take up to 5mins for Pi4 and 10mins for Pi3)
If you’ve imaged your RPi correctly you will see a screen like this.
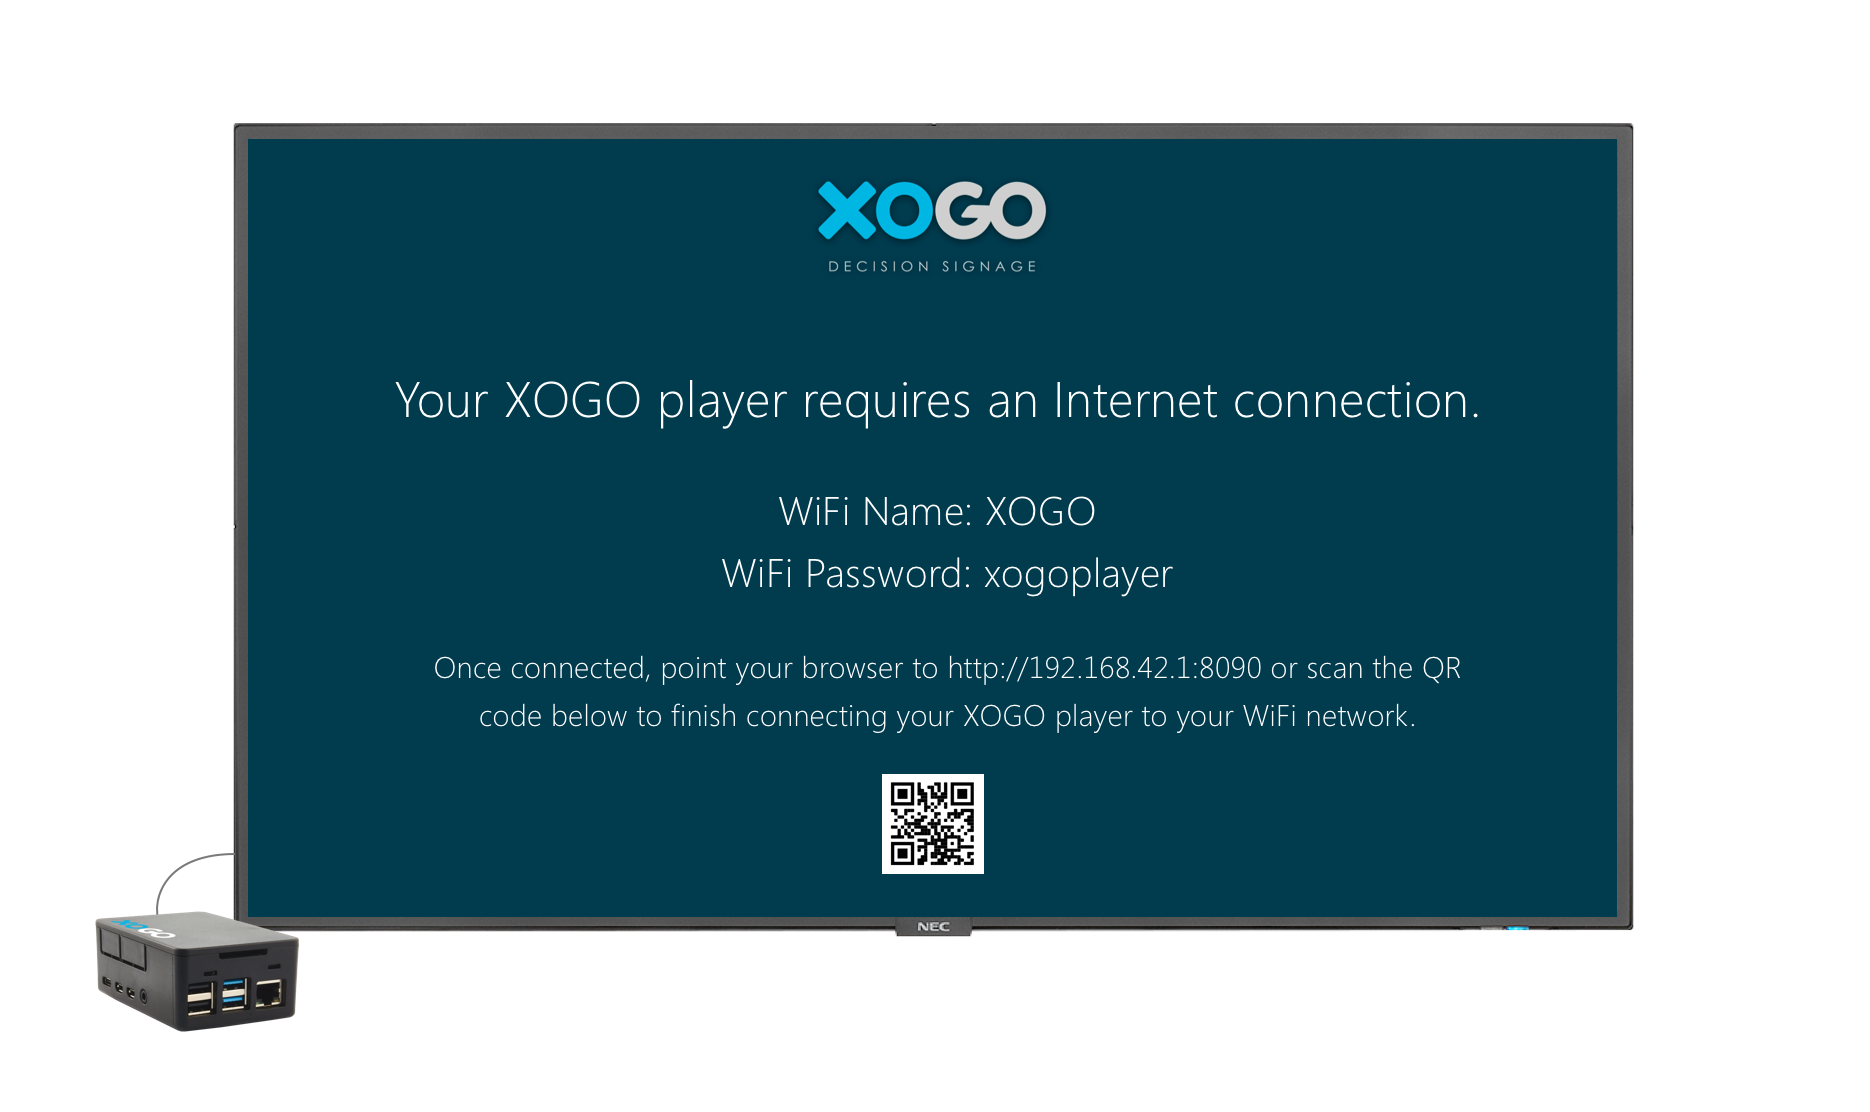
Step 5: Connect your RPi computer to the Internet
Ethernet option: Plug an ethernet cable into the RPi’s LAN port. Reboot the device by unplugging its power cord, waiting a few seconds, then plugging it back in. Now you’ll see a PIN code like the one below. Wait about 60 seconds for the player to pull down updates and reboot.
WiFi option: Follow the directions on-screen to connect to your computer or mobile device to your RPi computer’s temporary WiFi signal. Once you are connected to the RPi, scan the QR code that the RPi is displaying on-screen (or type the IP address http://192.168.42.1:8090 into your browser). Then you can push your own WiFi settings to the RPi computer and have it join your WiFi network. When the RPi is connected to your WiFi you will see a PIN code like the one below. Wait about 60 seconds for the player to pull down updates and reboot.

Connect your RPi to ethernet or WiFi and you’ll see a PIN code screen like this.
Step 6: Set up XOGO Manager
Now you can set the RPi computer aside and download the XOGO Manager app on your Windows 10, Android or iOS device. Click SIGN UP to create a free XOGO account. (Note: you can also sign up here.)

Control all of your content and players -from anywhere in the world- using our free XOGO Manager app.
Step 7: Upload your content
Inside XOGO Manager click +NEW to upload your content into the library section. XOGO plays PNG and JPEG graphics, MOV and MP4 videos, and dynamic content from the web.

Click NEW to upload your content into the media library.
Step 8: Create a playlist
Tap +NEW in the playlist section. Give your playlist a name and click +ADD ITEM to select from the media files that you uploaded to your library. Click SCHEDULE if you’d like to choose specific days/times when each item will play, or click to adjust how long each individual graphic will play (videos always play in their entirety).

Click NEW to create a playlist of content.

You can schedule the content within your playlist to play 24/7 or on specific days/times.
Step 9: Connect your RPi to XOGO Manager
Click +NEW in the players section to add media players to your account. Enter the 4-digit PIN code that your RPi computer is displaying, then give it a name, select which playlist you want it to play, and click save. You will immediately see a spinning blue circle on your player as it downloads the playlist from the cloud. Your content will being playing moments later.

Click NEW to add a player to your account.

Enter your player’s PIN code, give it a name and assign it a playlist.
Click save and your RPi will automatically download and play your content.
Bonus: Realtime mode
XOGO Manager is more than just a content uploading tool - it's a real time remote control! Just select Realtime mode in the control panel and (provided that your media player and controller device are both connected to the Internet) you can make any content on your media player PC play in real time. Right from your phone or tablet!
And because you can set items to be invisible within a playlist, you can have your normal media content playing and then interrupt it with something that has been invisible. This is a perfect scenario for retail, as an example - you can interrupt a looping "attract" video in order to pull up tech specs, pricing or product information.

Items can be made invisible within playlists, until exposed in Realtime mode.
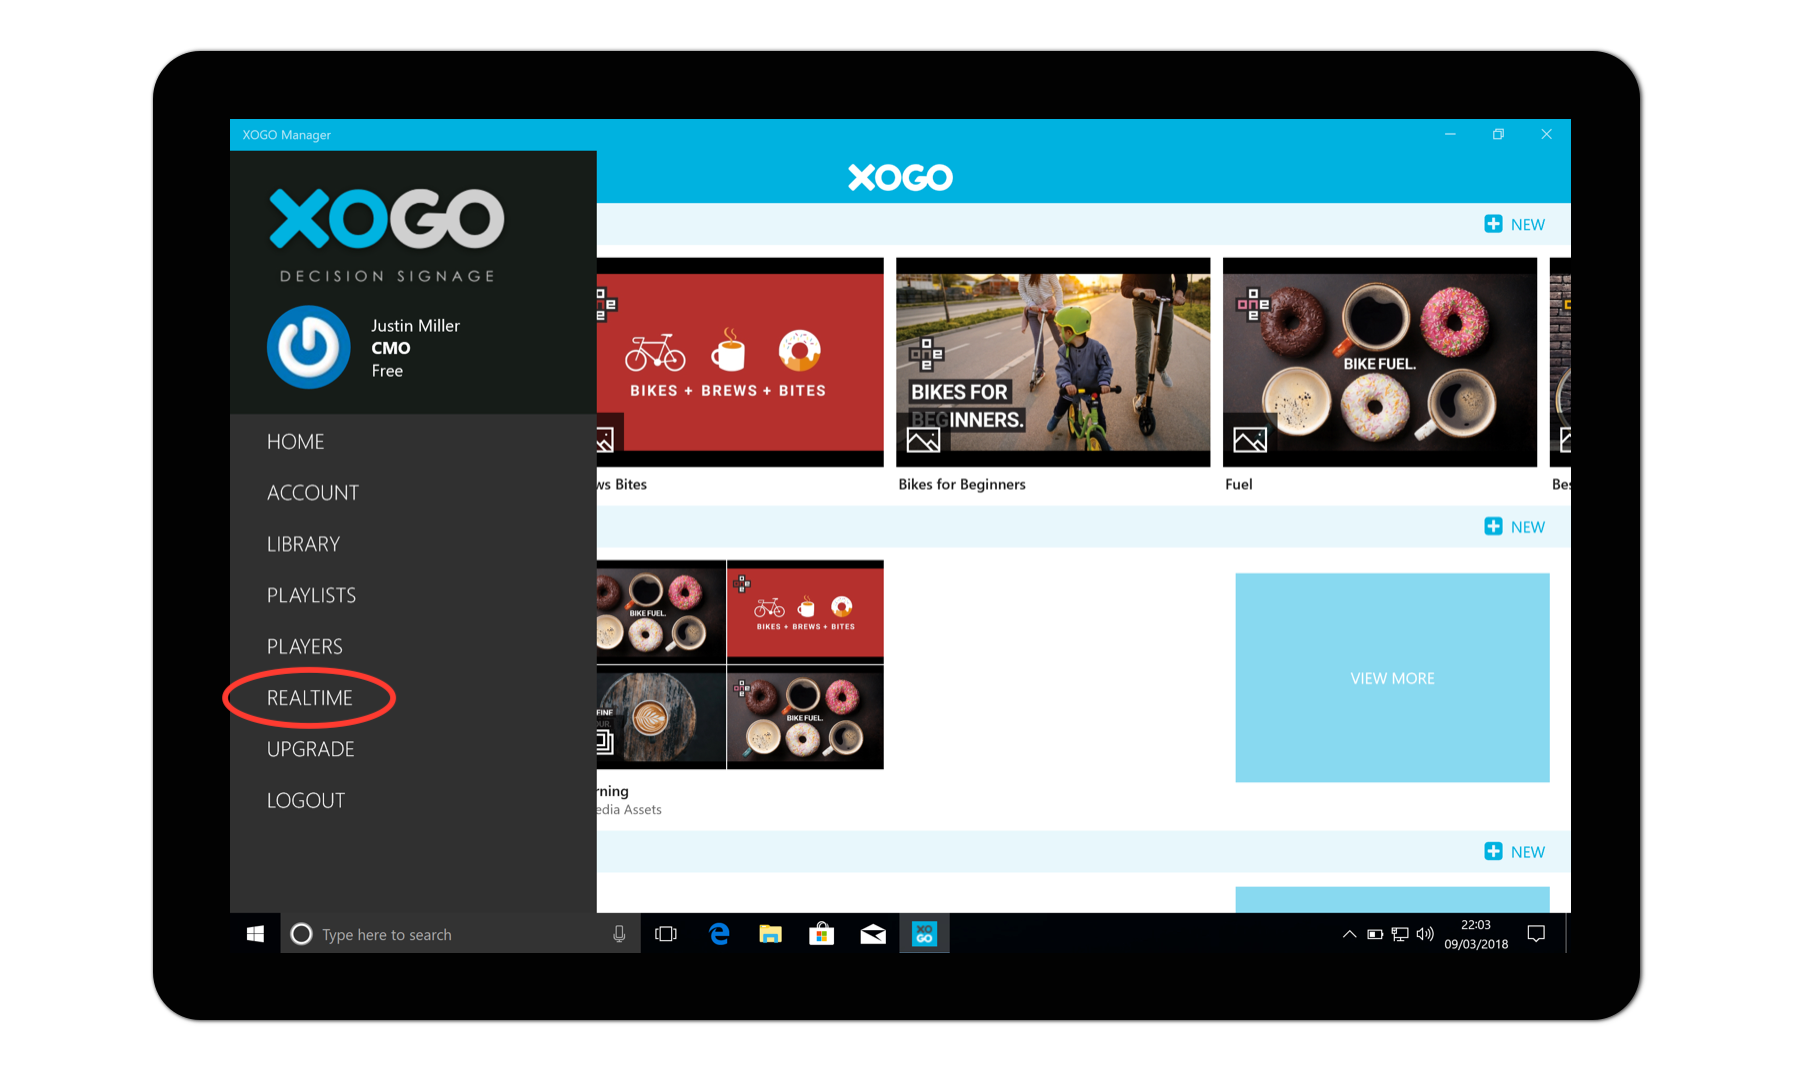
Use Realtime mode to immediately trigger visible or invisible content on any of your players.
Thanks for choosing XOGO Decision Signage. If you need further assistance with your new digital signage software, please take a look at our FAQ page, check out the tutorial videos on our YouTube channel, or contact us for support.